In this class, you will learn practical techniques for controlling
visual style in vibe coding workflows.
You will use moodboards or web references and iterative prompts to build, test, and
refine a reusable DESIGN.md that keeps your UI consistent across generations.
Always remember: Your first draft is useless — keep iterating.
Why do the design of all the Vibe-Coded apps feel the same?
I frequently hear people commenting Vibe-coded digital products all
look the same. Unfortunally, that is true. Here are some reasons:
Design systems standardize and modulize UI elements. Most products are build based on the
existing templates.
Large Language Models are trained with existing designs.
Vibe Coding tools are rely on the simliar frameworks and libraries such as tailwindcss,
shadcn ui, etc.
Most importantly, more and more people start to create websites and apps easily, but they
didn't take efforts on creative styles and interactions.
Intro. to Design System
What is design system?
A design system is a shared rulebook for visual and interaction
decisions in a product. It usually includes design tokens, reusable components, layout
rules, and usage guidelines, so teams can build consistent interfaces faster.
What is the role of design systems in UI/UX design and
frontend development?
Design systems connect design decisions and implementation
decisions into one shared language. In UI/UX, they improve consistency, reduce design debt,
and help teams deliver better usability across different screens and user flows. In frontend
development, they speed up implementation through reusable components and tokens, while
reducing bugs caused by one-off styling.
The key roles are:
Consistency: Keep visuals, interactions, and brand expression coherent across the
product.
Efficiency: Reuse components instead of redesigning and recoding common patterns.
Collaboration: Give designers and developers a common vocabulary for faster decisions.
Scalability: Make it easier to grow from one page to many features without visual chaos.
Quality and accessibility: Standardize contrast, spacing, states, and interaction
behavior.
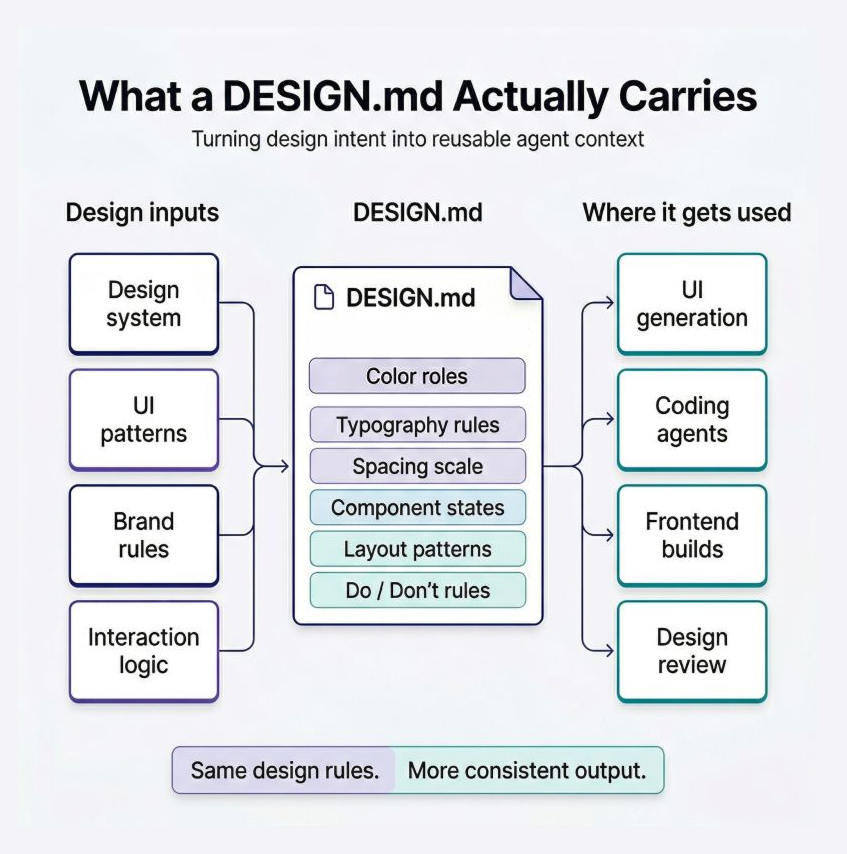
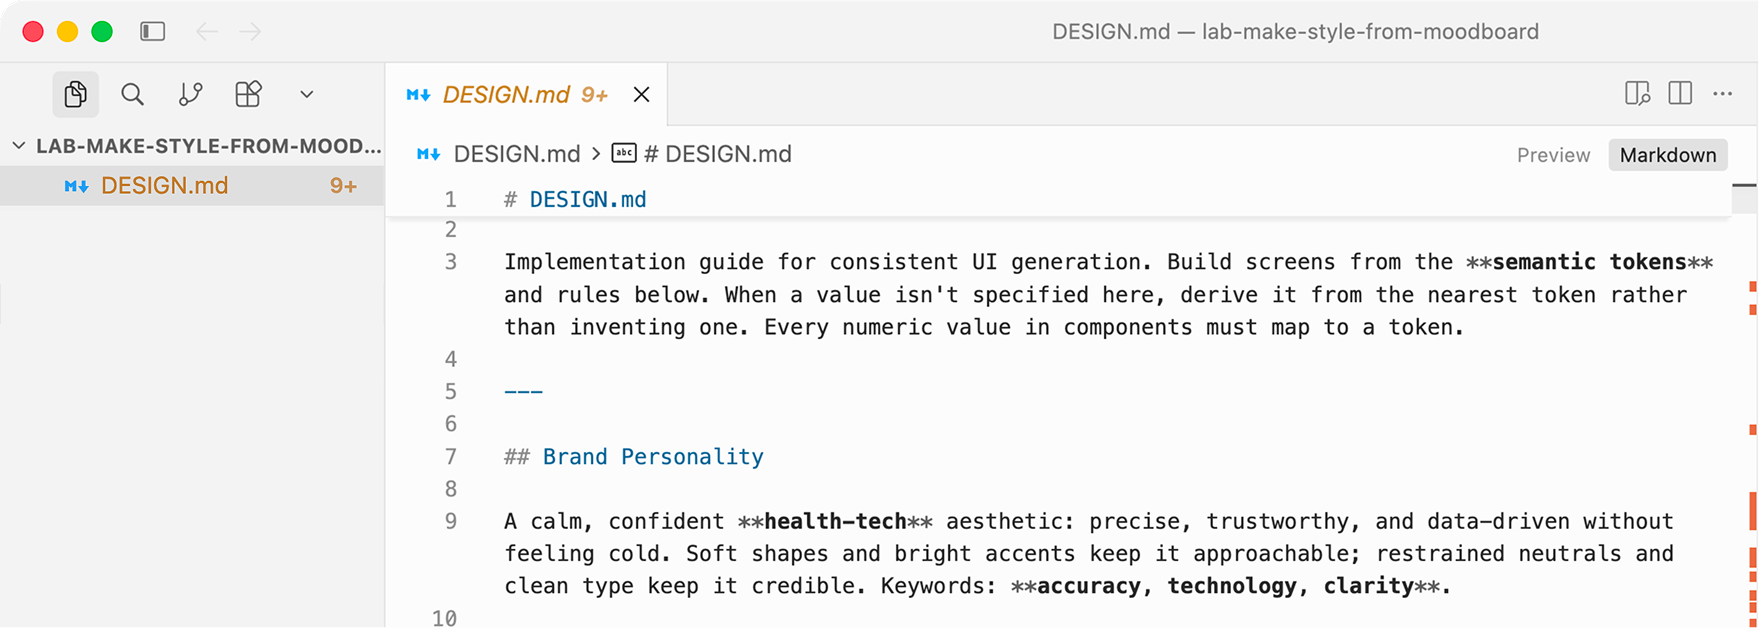
DESIGN.md is the source-of-truth document for your
product's visual language and interaction rules. Think of it as a practical instruction
manual that both humans and AI agents can read before generating or editing UI.
In AI-assisted workflows, this file is critical because it
reduces ambiguity in prompts. Instead of repeatedly describing your style in every request,
you define it once in DESIGN.md and ask the agent to follow it.
Without this document, AI agents may produce inconsistent or off-brand UI elements.
A DESIGN.md usually includes:
Brand direction: tone, visual keywords, and overall design intent.
Design tokens: color palette, typography scale, spacing, radius, shadows, and motion values.
Core components: buttons, inputs, cards, modals, navigation, and their states.
Layout rules: grid, breakpoints, density, and responsive behavior.
Treat DESIGN.md as a living document. Update it when design
decisions change, and keep your generated code aligned with it.
Moodboard
Video: Introduction to Moodboard for UX Design
Video: Moodboard: Examples
NOTE: You will use this approach to create the DESIGN.md file
for your course project.
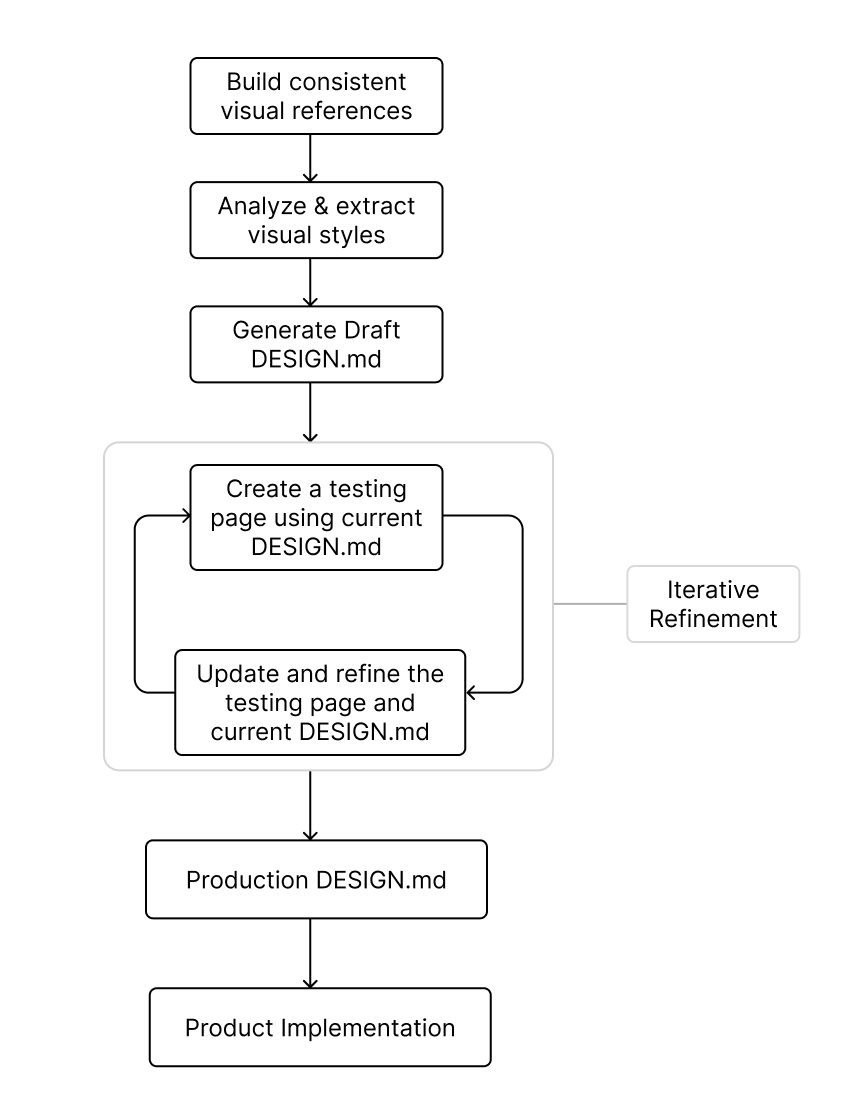
Moodboard to DESIGN 1. Initial Draft
In next three section, you will learn how to develop your DESIGN.md file iteratively based on
your moodboard. This process will help you create a clear and actionable design specification that
guides your AI agent to generate consistent and high-quality UI.
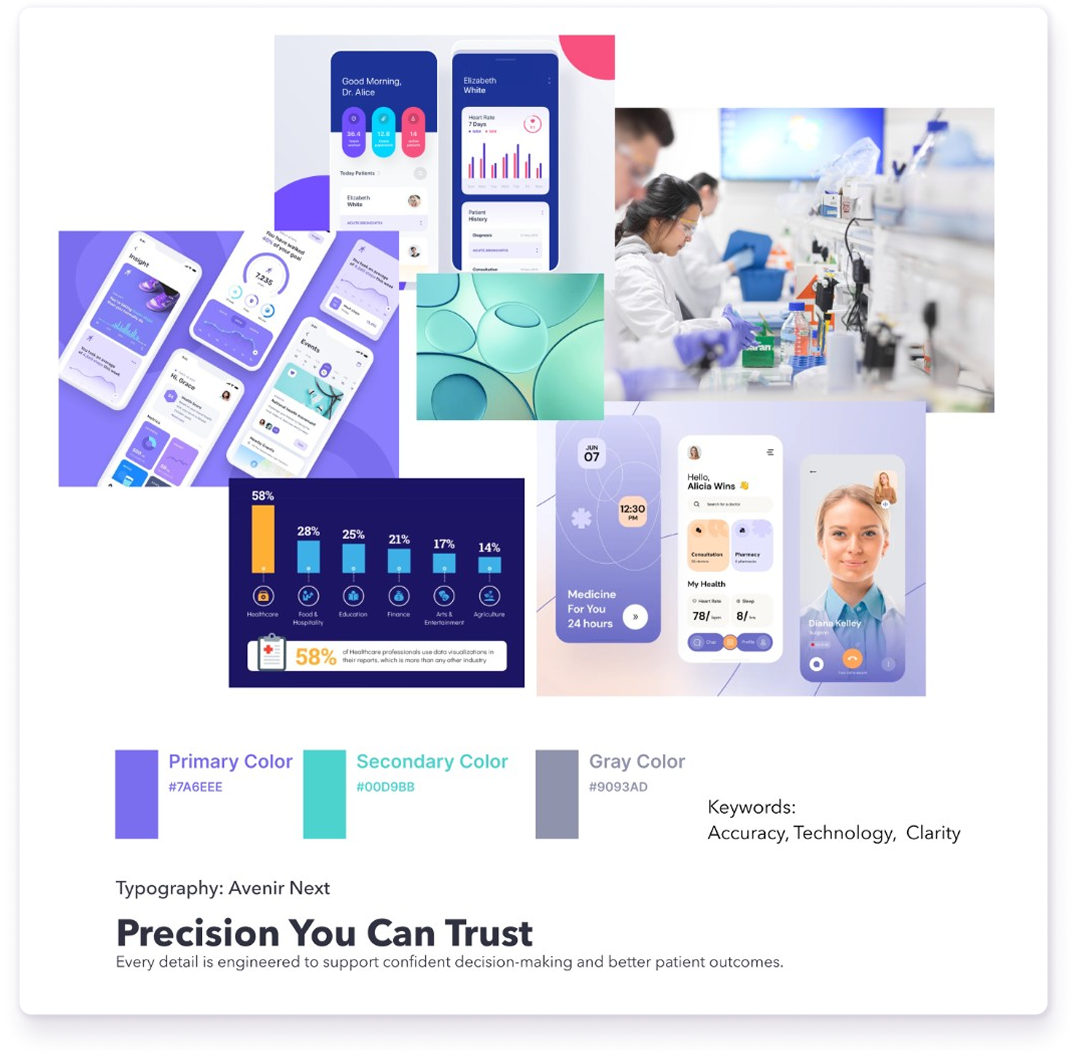
Create the Moodboard
First, have your moodboard ready.
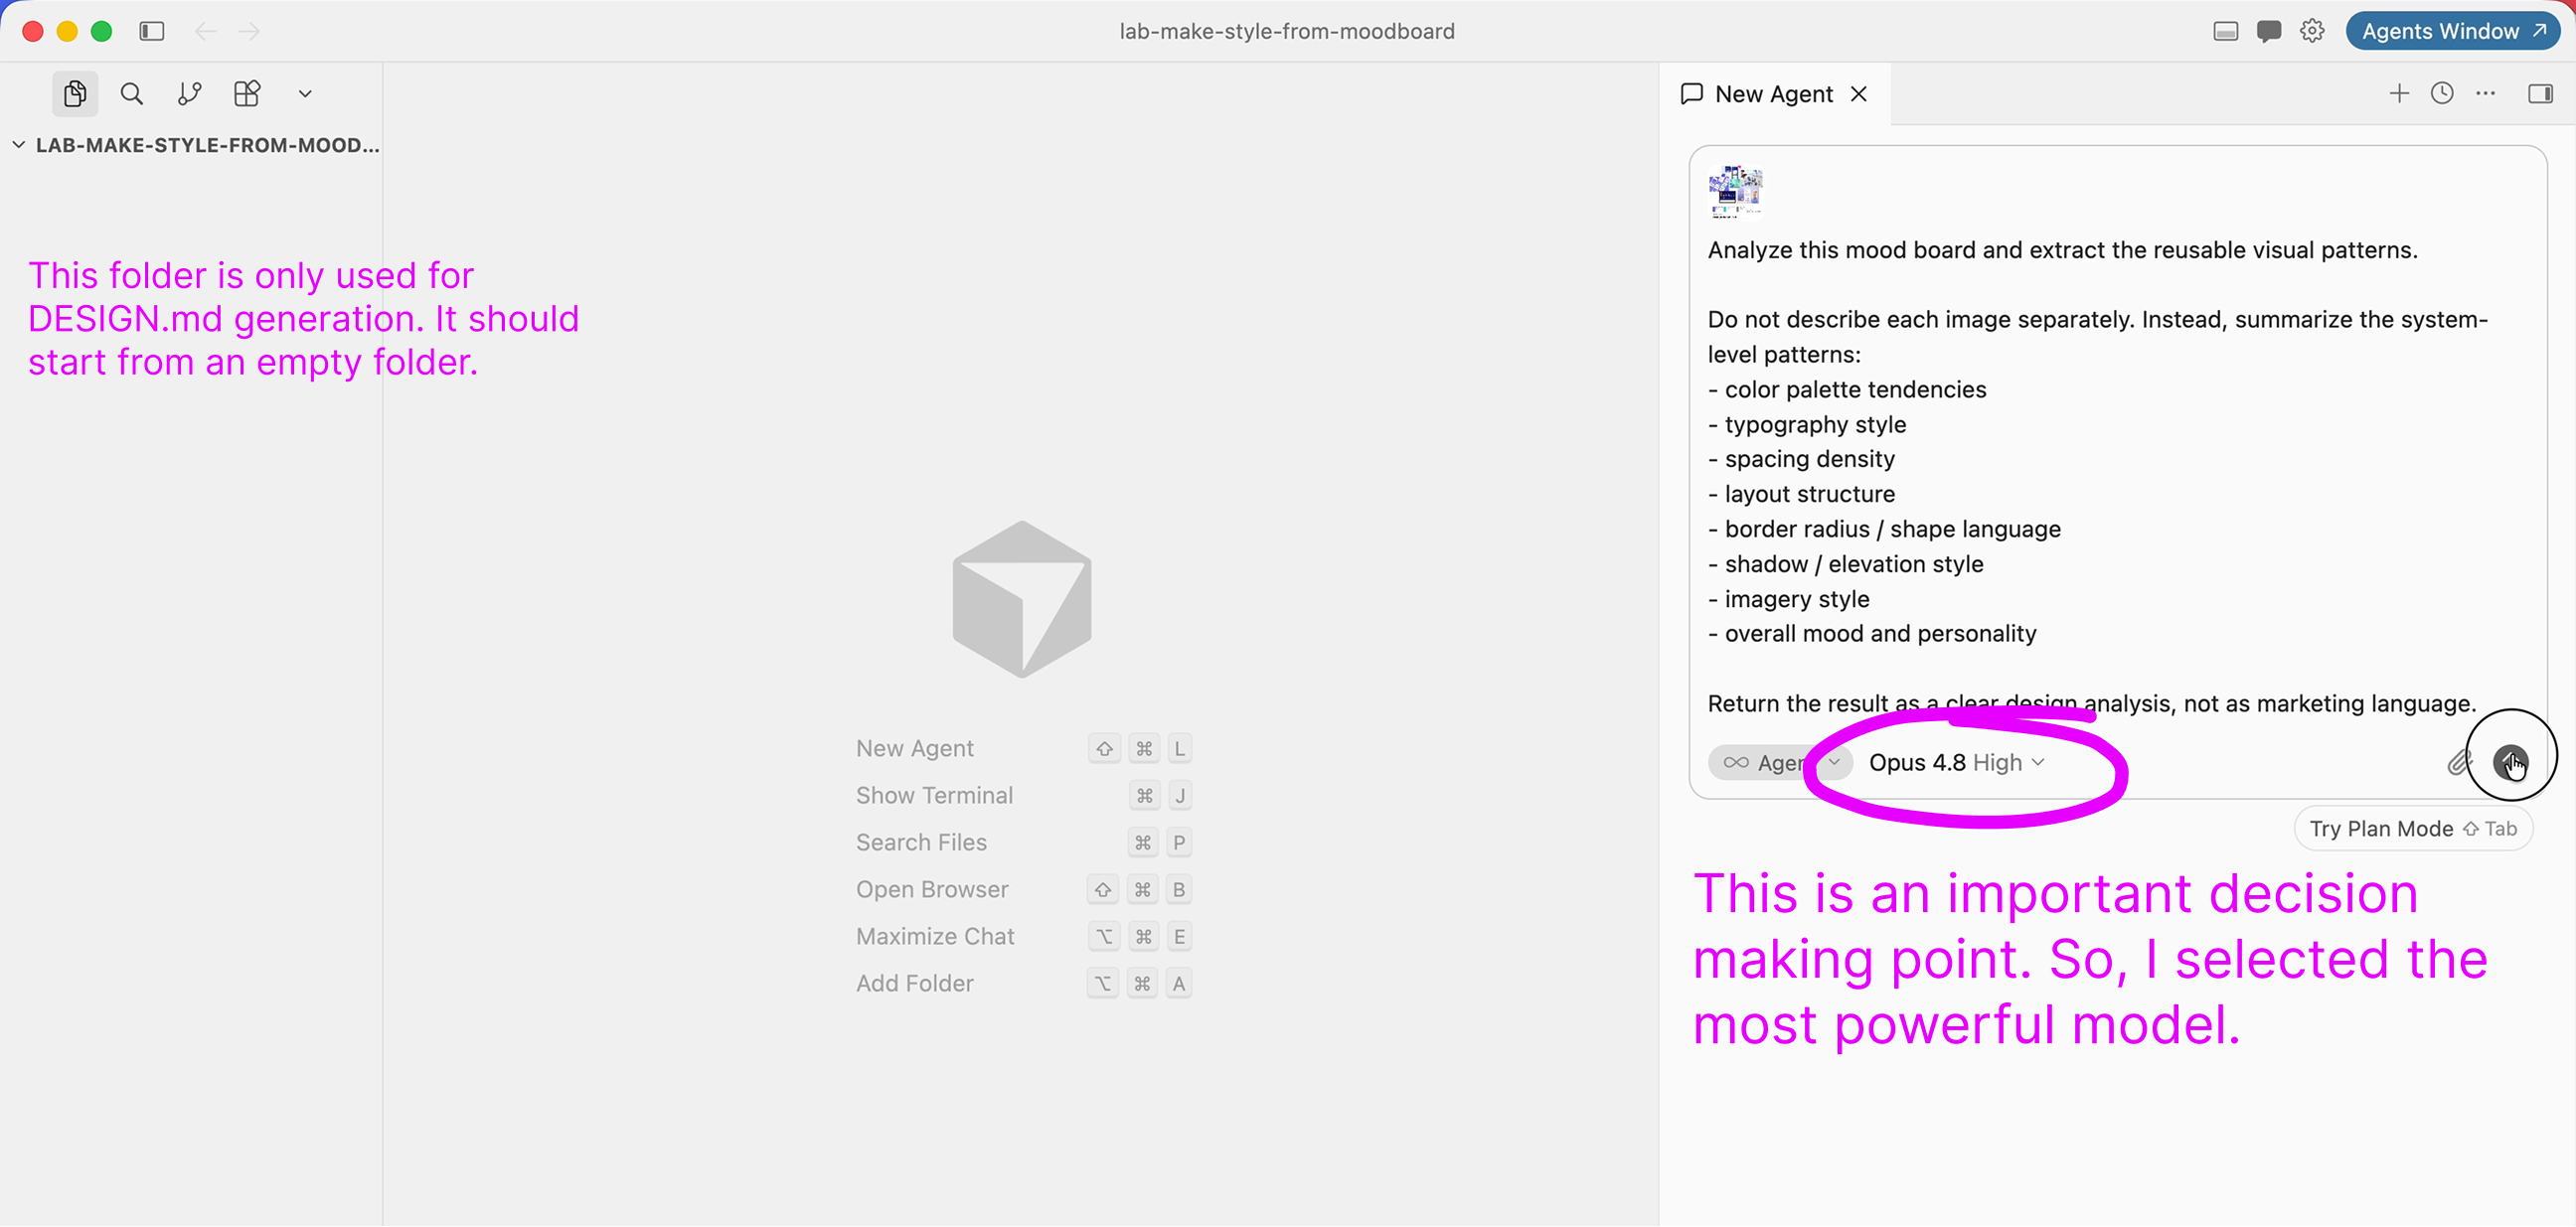
Project Setup and First Prompt
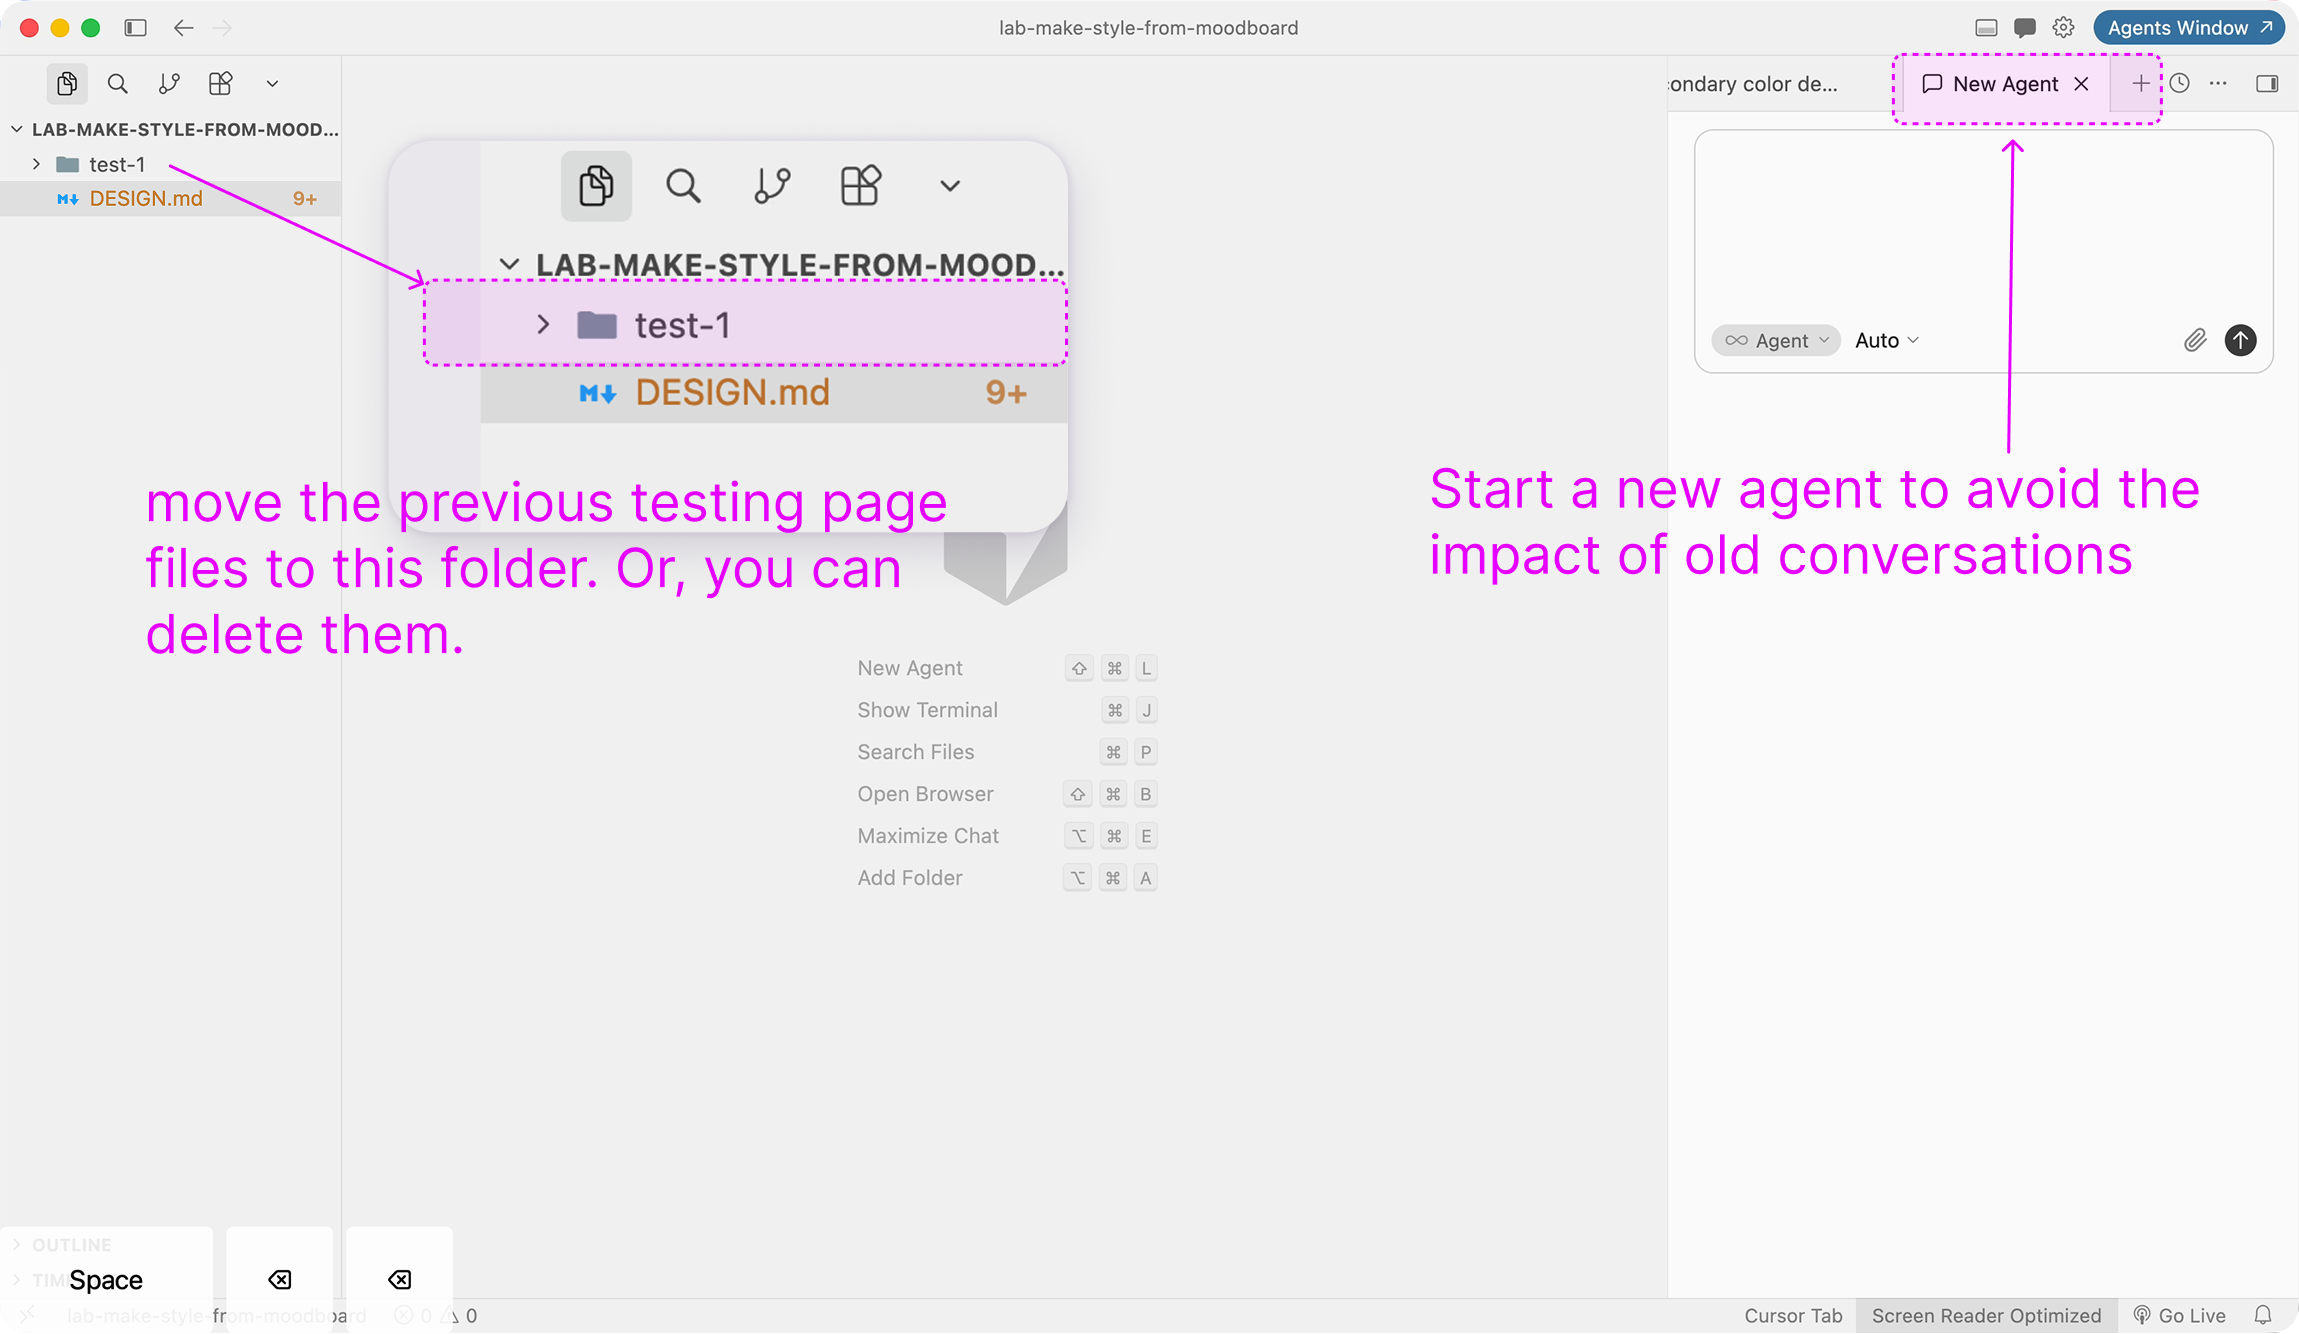
Create a new project folder and start the first prompt with your moodboard. This could be a temperary folder. The purpose is to develop a DESIGN.md file.
Slideshow: Six-Step Prompting Flow to generate a draft DESIGN.md file:
1 / 6
1. Analyze Mood Board
Provide your moodboard with the following prompt.
Analyze this mood board and extract reusable visual patterns.

Do not describe each image separately. Summarize system-level patterns:
- color palette tendencies
- typography style
- spacing density
- layout structure
- border radius / shape language
- shadow / elevation style
- imagery style
- overall mood and personality

Return the result as a clear design analysis, not marketing language.
2. Define Design Principles
Based on the mood board analysis, write 5-8 design principles this UI should follow.

Each principle must be actionable and specific.
Avoid vague words like "modern" or "nice".
Make principles useful for generating interface screens consistently.
3. Create Design Tokens
Convert the visual direction into a design token system.

Include:
- color tokens
- typography tokens
- spacing scale
- radius scale
- shadow tokens
- border tokens
- motion tokens

Use names that are easy for AI and developers to reuse.
Format the result as a structured design system draft.
4. Define Components
Using the design tokens, define core UI components for this product.

Include at least:
- buttons
- inputs
- cards
- navigation
- tabs
- badges
- modals
- empty states

For each component, describe:
- purpose
- visual style
- states
- spacing
- key rules for consistency
5. Write DESIGN.md
Create a DESIGN.md file from the design system draft.

Write it as a practical implementation guide for AI generation.
Organize into:
- Brand personality
- Design principles
- Color tokens
- Typography
- Spacing
- Radius
- Shadows
- Components
- Motion
- Accessibility
- Do / Don't rules

Keep it concise, specific, and usable as a future UI reference.
6. Review and Refine
Review DESIGN.md and identify missing rules, conflicts, or ambiguity.

Focus on risks that cause inconsistent UI generation:
- unclear color usage
- missing component states
- weak spacing rules
- undefined layout behavior
- inconsistent typography hierarchy

Then rewrite the document to make it more precise.
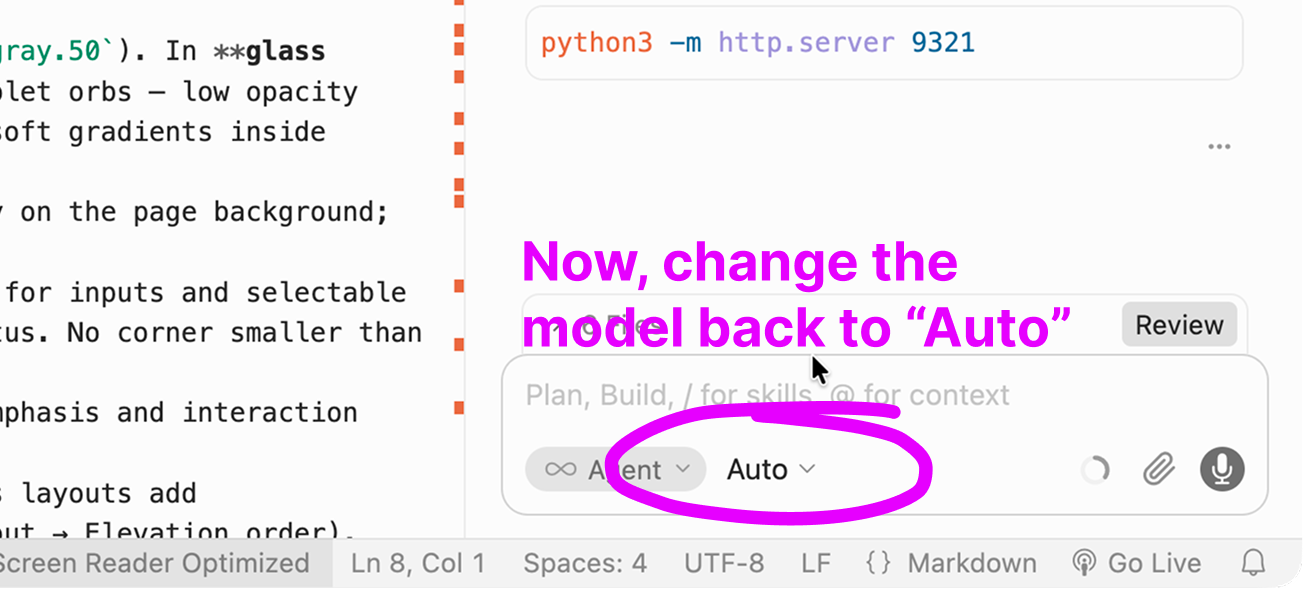
When you finish, switch the model to "Auto"
to save tokens.
On this step, your initial DESIGN.md is created. However, it
is not ready to use yet. Next step: Test and Iterate.
Moodboard to Design 2. First Iteration
After creating the initial DESIGN.md file, we need to test it by generating some UI screens
and reviewing the results. This will help us identify any gaps or issues in the design
specification and refine it for better consistency and quality.
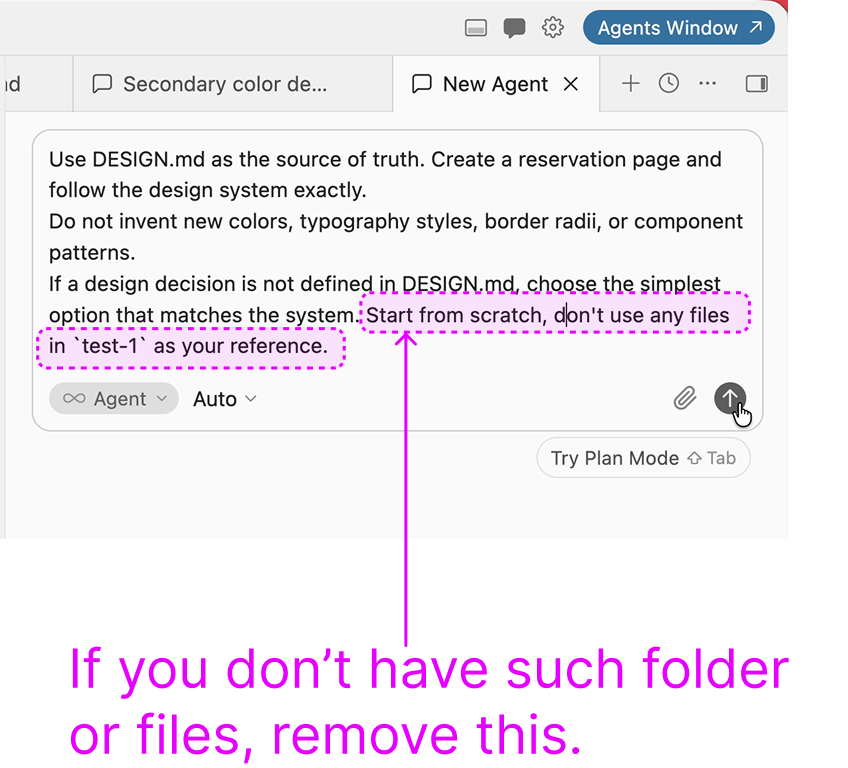
Prompt Reference:
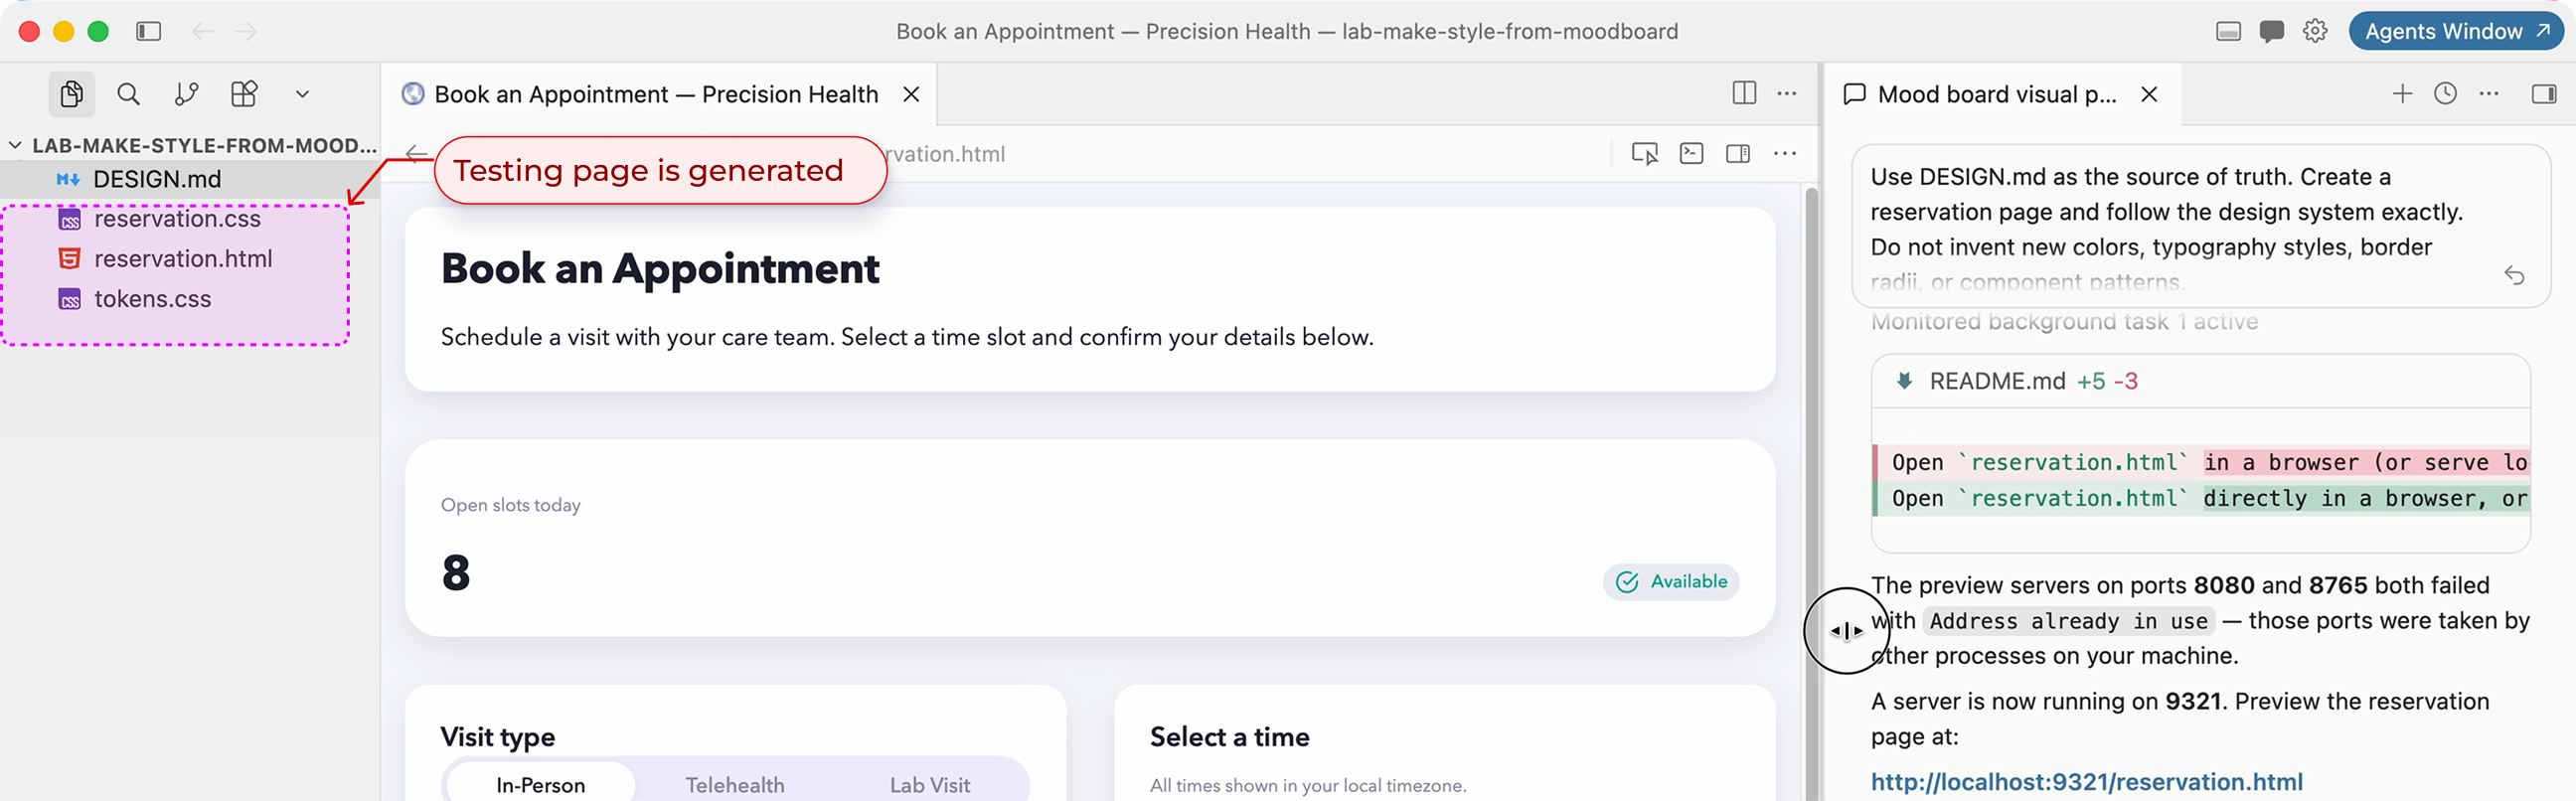
Use DESIGN.md as the source of truth. Create a reservation page and follow the design system exactly.
Do not invent new colors, typography styles, border radii, or component patterns.
If a design decision is not defined in DESIGN.md, choose the simplest option that matches the system.
This will generate a test page with some css files based on the design specification. This is the testing of your DESIGN.md file. With you page, you can start to iterate on your design.
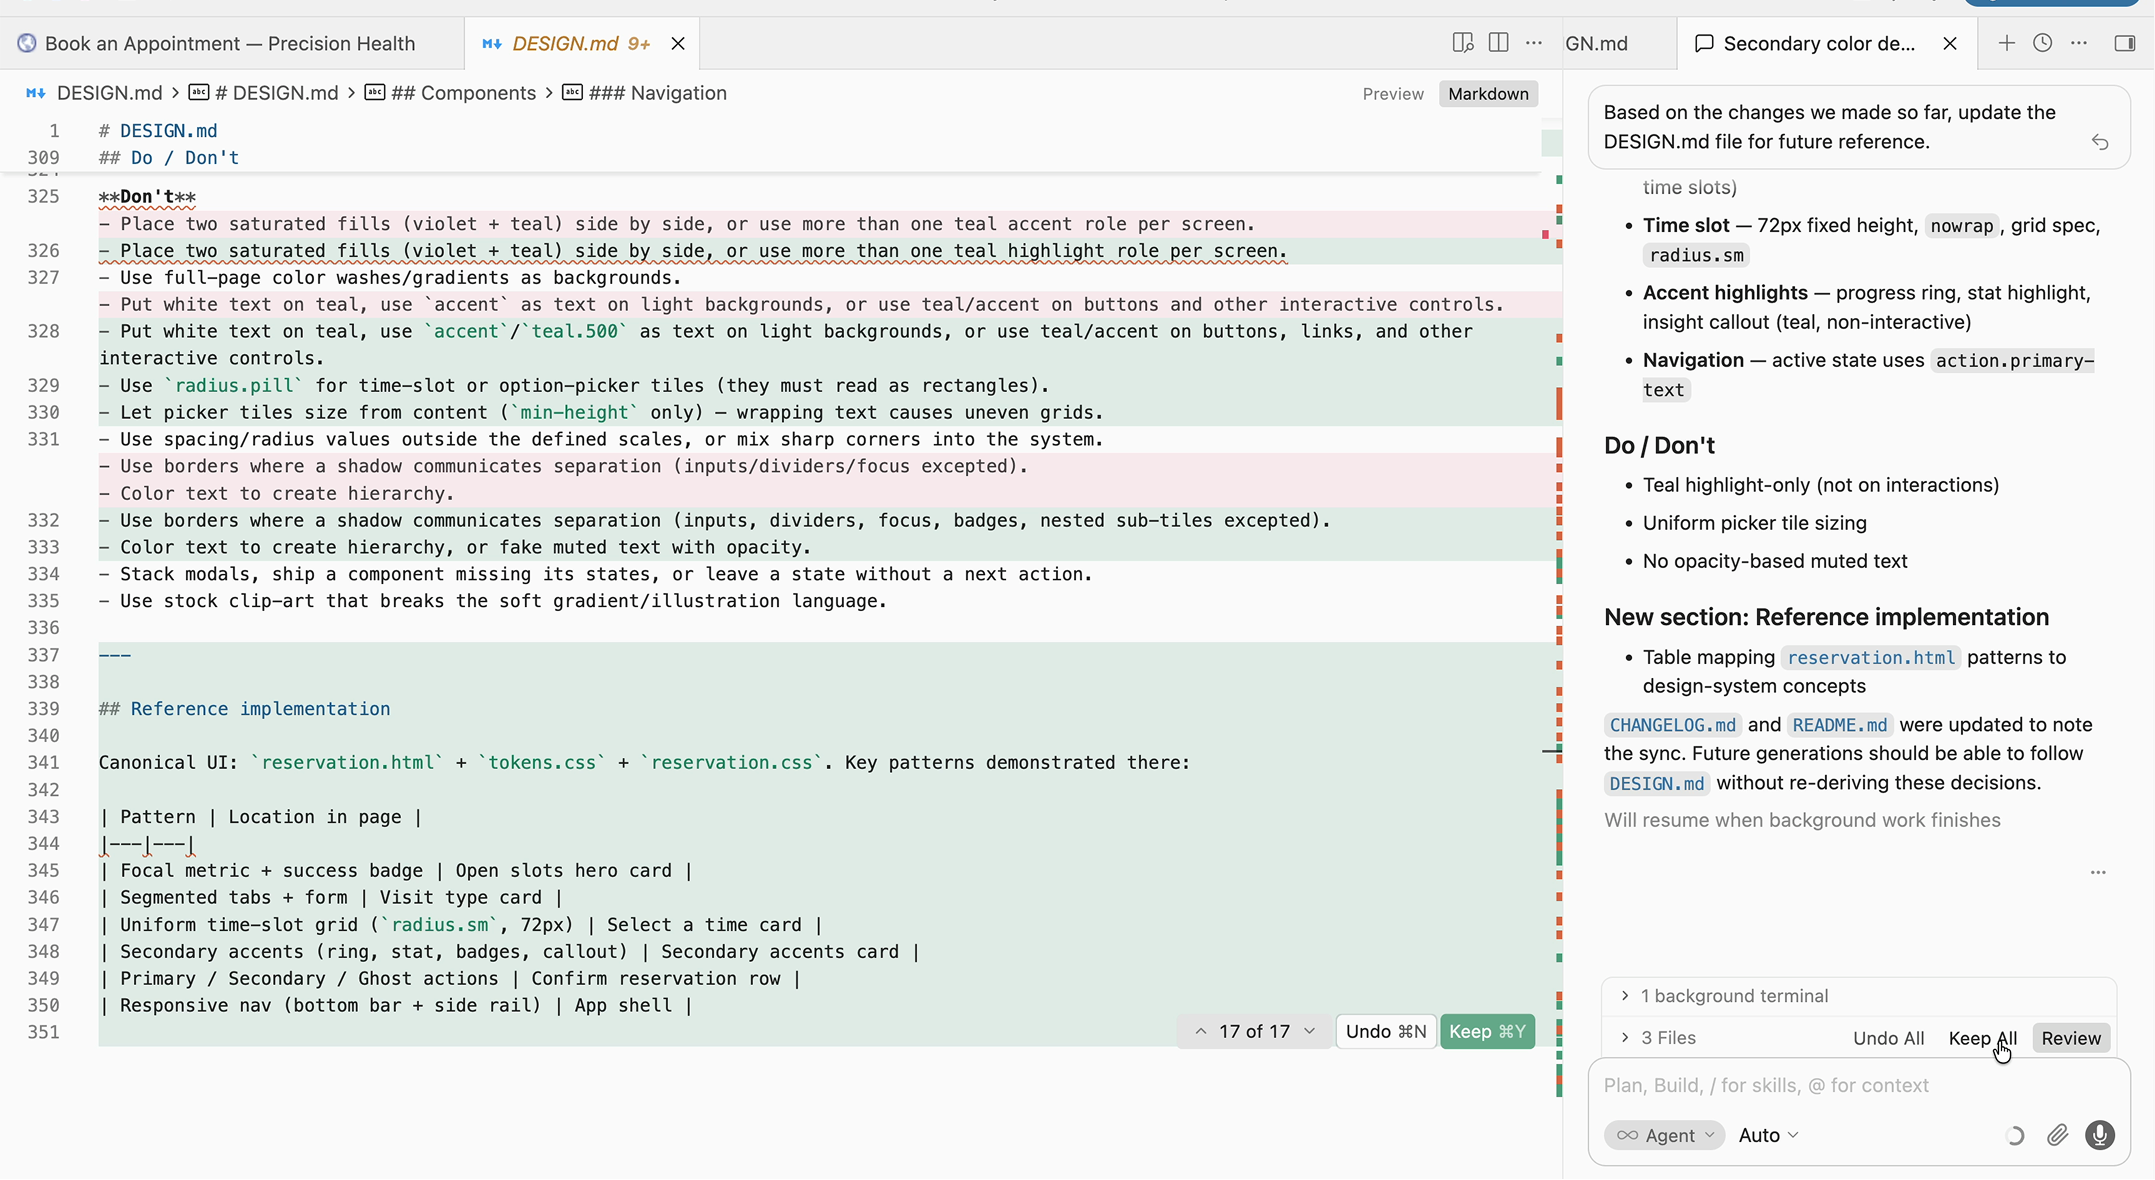
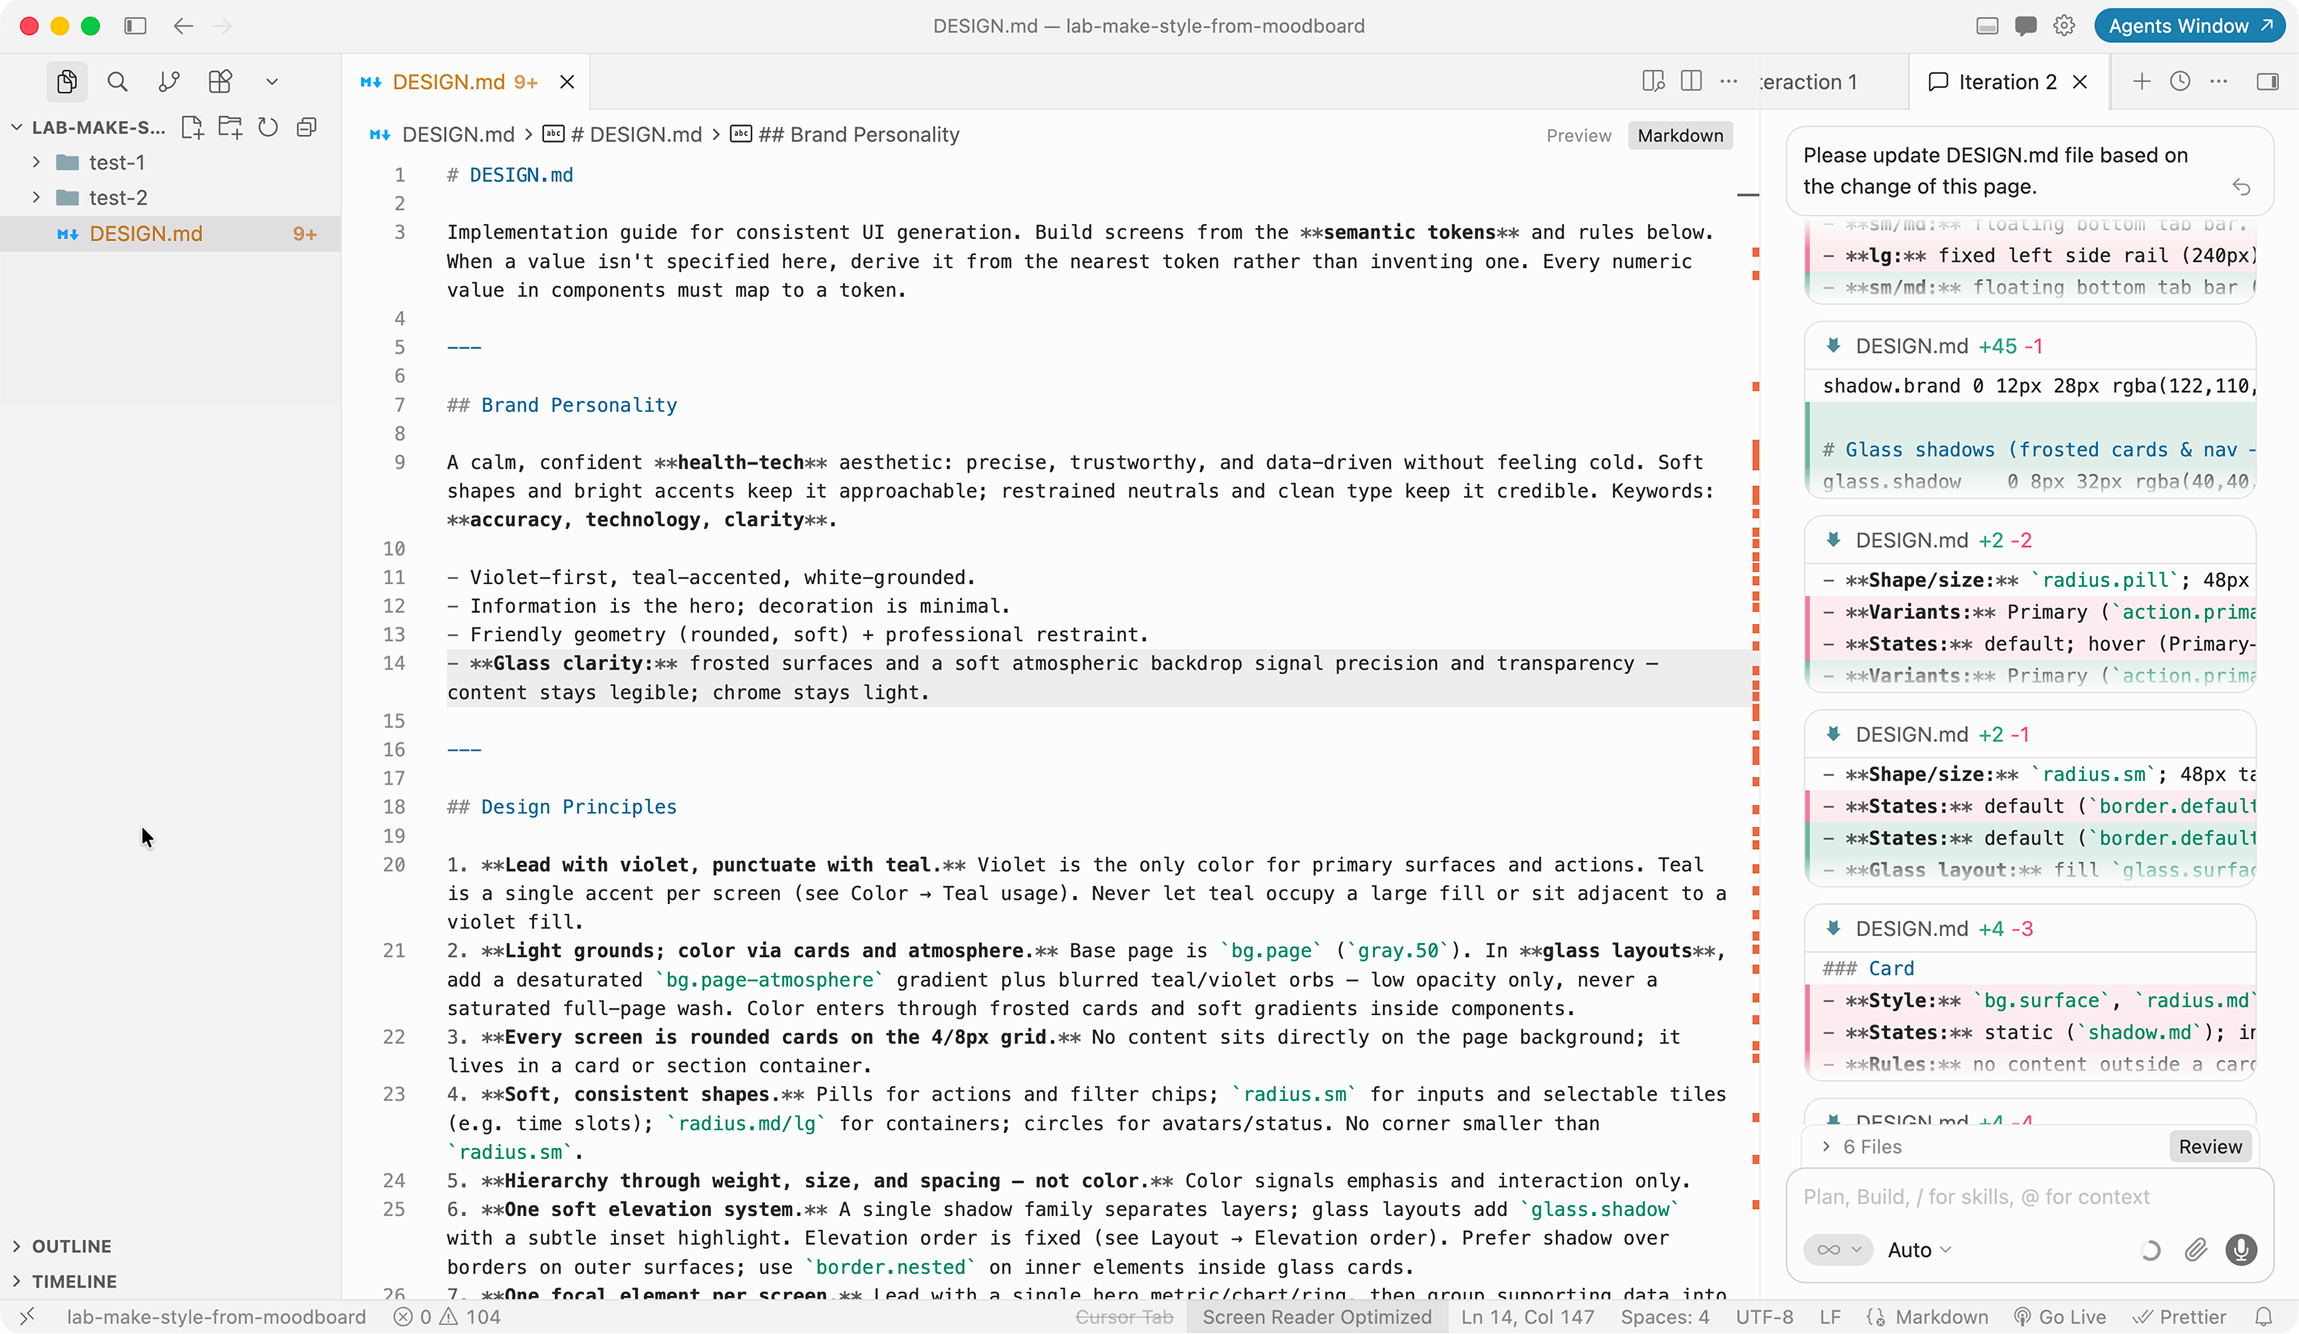
Slideshow: My example of iteration process on design.
Updated DESIGN.md file. Now it's the time to test this. Move to the next section.
Moodboard to Design 3. The Second Iteration
Prepare for the second iteration.
Similar to the first iteration, you will write the initial prompt for testing file generation. You need to make some adjustments based on the first iteration. After this, you will have the second testing page generated.
Slideshow: My example of iteration process on design.
After another round of iteration, which includes 8 promtings,
I have my final DESIGN.md file. Next, I will use it in the implementation.
AI Agent Skills
NOTE: You will use this approach to create the DESIGN.md file for your course project.
Skill: more than a reusable prompt.
What are included in a skill?
Pre-defined Prompts
Reusable instructions that guide the agent's behavior for a specific task or workflow.
Automated Scripts
Code that the agent can execute to perform actions like file manipulation, running builds, or processing data.
Reference Documents
Files the agent reads for context, such as design guidelines, coding standards, or project notes.
Tool / API Integrations
Connections to external services (search, databases, browsers) that let the agent act beyond generating text.
Memory & Context
Persistent information the agent can read and write across sessions, like prior decisions or project state.
What tools provide the capability of SKILL?
Any major AI tools: Cursor, Codex, VS Code, Claude Code...
What tasks can agent do with skills?
A wide range of tasks - programming, research, data analysis,
automation, and more - especially when combined with the right tools and integrations.
Video: Introduction to AI Agent Skills
Create a Skill
In the following video, I will create a skill called "inspire-design-system." This skill will help me generate a DESIGN.md file based on the refernece images and web link I provided. The creating of the skill is not a one-prompt task. After these steps, you need to keep testing and updating it before it becomes truly useful.
When using visual references from existing websites, avoid
directly copying unique branded assets,
proprietary illustrations, exact layout compositions, or trademarked elements. Instead,
extract reusable style principles
such as spacing rhythm, typography hierarchy, color balance, and component behavior, then
reinterpret them in your own
design system.
Mitigation checklist:
Use references for analysis, not one-to-one replication.
Replace logos, icons, photos, and brand names with your own assets.
Document your transformation decisions in DESIGN.md.
Run a final review to ensure the output expresses a distinct product identity.
Video Demo: Two methods to send an HTML page to Figma
What to Do This Week
⚠ NOTE
This week includes a mini project and the continue of the course project.
Mini Project - Week 4
Select one of your previous mini project for this week's topic.
Select 1 - 2 existing digital design for your style reference.
Based on that, generate a DESIGN.md file following this process.
Copy the DESIGN.md file to the folder of your mini project.
Start the project with the DESIGN.md file complete the development with Cursor, VS Code, ClaudeCode, or Codex.
Publish the final product to Netlify or similar.
How to Submit: Since the textarea in Canvas assignments is not good for
image submission, please submit a word or PDF file, or a link of FigJam Board, with following:
Text of your final DESIGN.md file.
2 - 3 screenshot of your work progress showing your major prompts and outputs.
1 - 2 prompts for project initialization that integrates DESIGN.md.
5 - 8 prompts (or screenshots) that you update or fine-tune the styles of the project.
Please share some prompts that don't work well, challenges you faced. Then explain what you see and how you fixed it. You can use screenshots.
Finally, share the link of your published project.
The grading is given based on how much efforts you put on the project. You should consider enough iterations on the product such as layout, interactions, color, animations, graphics, etc. A small functional web app typically need about 20 - 50 prompts.